How to Choose a Transcription Tool for Interviews: Test It on Your Own Recordings
Run one real recording through two or three transcription tools and count the errors that would hurt you: names, numbers, jargon and speaker labels. Then check quote-checking features, privacy and exports.
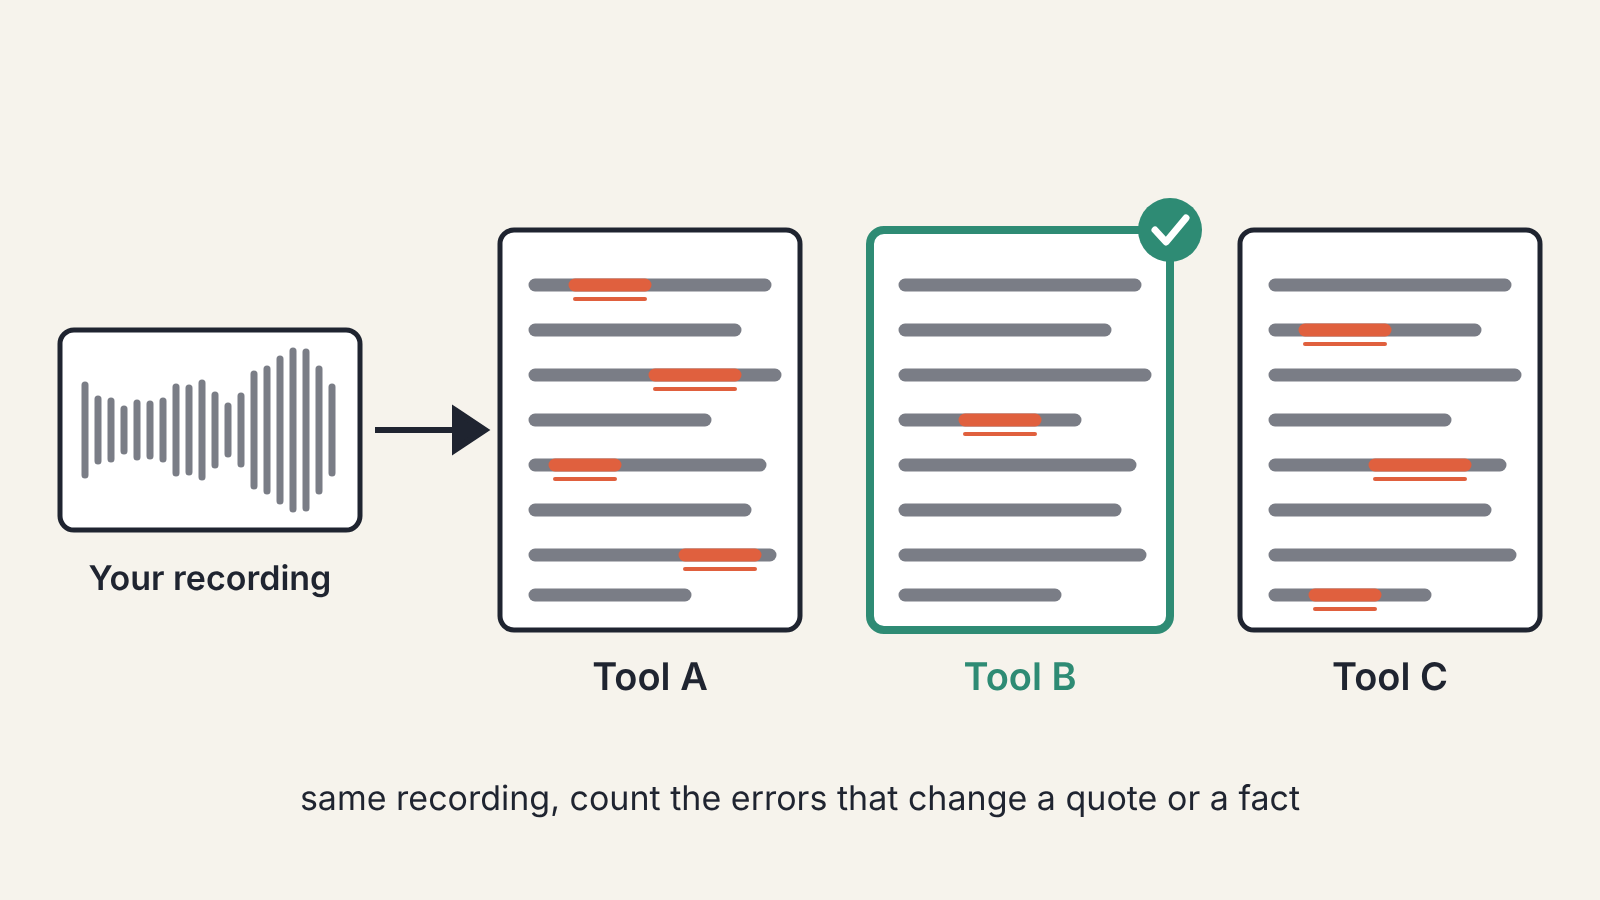
The best transcription tool for interviews is the one that gets your recordings right, and the only reliable way to find it is to test. Take one real recording, ten minutes long, with the kind of voices, accents and jargon you usually deal with. Run it through two or three tools, then count the errors that would hurt you: names, numbers, technical terms and who said what. The tool with the fewest of those wins, whatever its feature list says.
Feature lists matter less than you'd think, because almost every transcription tool now promises speaker labels, timestamps and dozens of languages. What differs is how well each handles your audio, and how easy it makes the job that comes after the transcript: finding a quote and checking it against the recording.
Start with what you actually record
Before comparing anything, write down what your recordings are like. Two writers with different work can reasonably choose different tools.
- Where the audio comes from: video calls, phone calls, a recorder on a café table, a conference panel.
- How many voices: a one-to-one interview, a group, a panel with an audience.
- Language and accents, including speakers who switch languages mid-sentence.
- Vocabulary: medical, legal or technical terms, product names, place names, people's names.
- How sensitive it is. Interviews with sources who asked not to be named need different handling from a podcast that will be public anyway.
Keep this list next to you while you compare. It turns "which tool is best" into "which tool is best for these recordings", which is a question you can answer.
Run the same recording through each tool
Pick one recording that represents your usual work, including its problems. If your interviews are often noisy or have crosstalk, don't test with a clean studio file.
For each transcript, go through the recording and mark:
- Every name spelled wrong or swapped for a different word.
- Every number that is wrong.
- Every technical term mangled.
- Every place where the speaker label is wrong, so a line is credited to the wrong person.
- Any stretch where a word that changes the meaning is wrong: "can" for "can't", a dropped "not".
Ignore punctuation and filler words for now. They are annoying to tidy, but they rarely end up as a misquote. A tool with perfect commas and wrong names is worse for a writer than the reverse.
Check the features that support quote-checking
Accuracy gets you a usable transcript. These features decide how quickly you can check it:
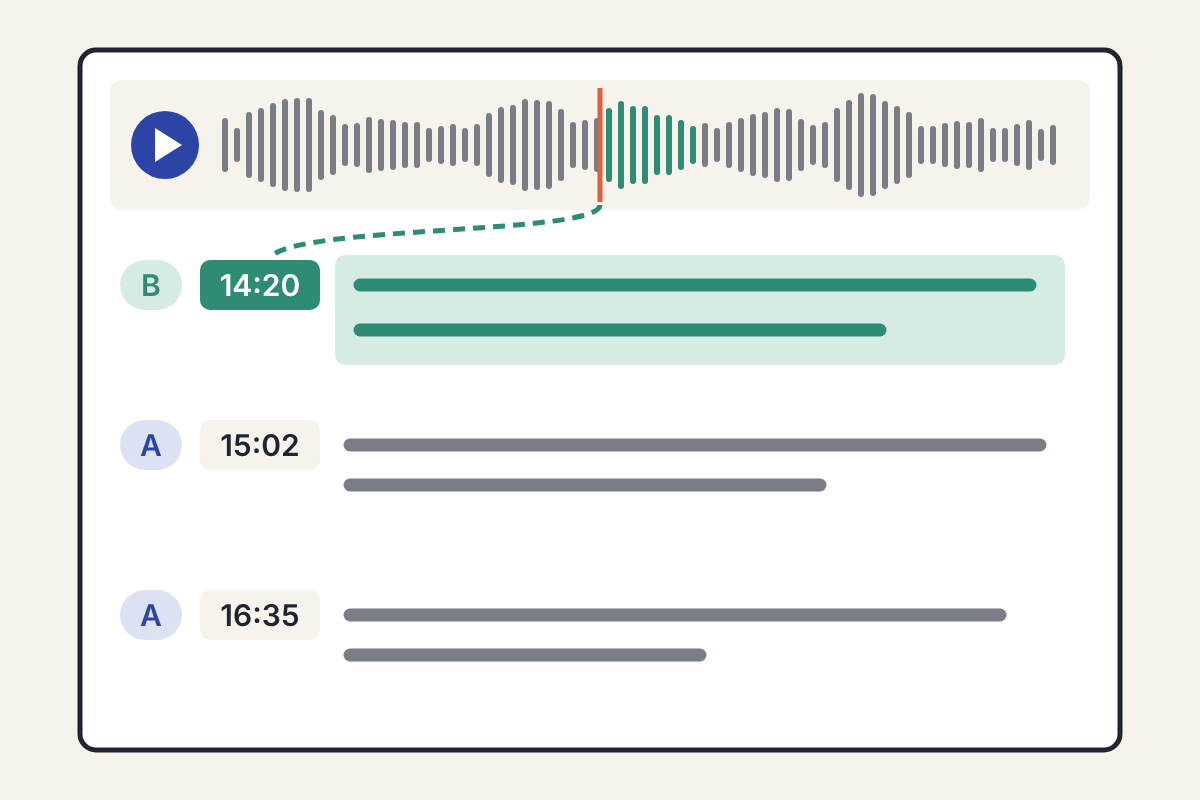
- Timestamps you can click. Clicking a line should jump the audio to that moment. Without it, verifying a quote means scrubbing through the file.
- Speaker labels you can rename and correct. Most tools label speakers automatically; you want to be able to fix a wrong label in one place.
- Custom vocabulary, if your work has recurring names or terms. Some tools let you add words they should expect.
- Playback speed control in the same view as the text, so you can skim fast and slow down for the hard parts.
- Search across transcripts, useful if you interview the same people or cover the same subject repeatedly.
When we walked through turning an interview transcript into an article, the key step was checking every quote against the audio. Clickable timestamps turn that from a chore into a few seconds per quote.
Look at what happens to your recordings
Interview audio can contain things your sources told you in confidence. Before uploading anything sensitive, read the tool maker's own privacy and data pages and find the answers to these questions:
- Where are recordings and transcripts stored, and for how long?
- Can you delete them, and does deleting remove them completely?
- Does the maker use customer recordings to train or improve its models, and can you switch that off?
- Is there an option that processes audio on your own device instead of uploading it?
If the answers aren't clear on the maker's pages, treat that as an answer. For your most sensitive interviews, a tool that runs locally may be worth slightly lower accuracy.
Check the exports
You will want the transcript somewhere else eventually: your notes app, your draft, an editor's inbox. Look at which formats you can export, whether timestamps and speaker names come with the text, and whether you can export just a selection. A transcript you can only read inside one app is a transcript you'll end up copying by hand. If you keep research in a dedicated notes app, choosing a note-taking app for research and writing covers what to look for on that side.
AI summaries are a bonus, not a reason to choose
Many transcription tools now add AI summaries, action items and suggested quotes. These can help you find your way around a long recording. Treat them as a table of contents. A summary may compress what someone said into a neat sentence they never said, and a "suggested quote" is not a quote until you've heard it on the recording.
So test the summary too, but judge it by whether it points you to the right moments, with timestamps. A tool that summarises beautifully and transcribes names badly is the wrong tool for interviews.
Make the decision
Put your results in a simple table: the error counts from your test, the quote-checking features, the privacy answers and the exports. Usually one tool stands out on the errors that matter to you, and the rest is a tie-breaker.
Re-test once a year or when your work changes. Transcription models improve often, and the tool that came second last year may handle your recordings better now. Keep your test recording and your marked-up results so the next comparison takes an hour, not an afternoon.
